Vegan

Gluten Free and Vegan Chocolate Chunk Almond Butter Banana Bread and French Toast

I'm pretty sure it must be a written rule somewhere that if it's a rainy day and you have ripe bananas, you need to make banana bread. Well, at least it should be a rule. Baking and rainy days are pretty much a must, and ripe bananas obviously mean banana bread. So banana bread it was!

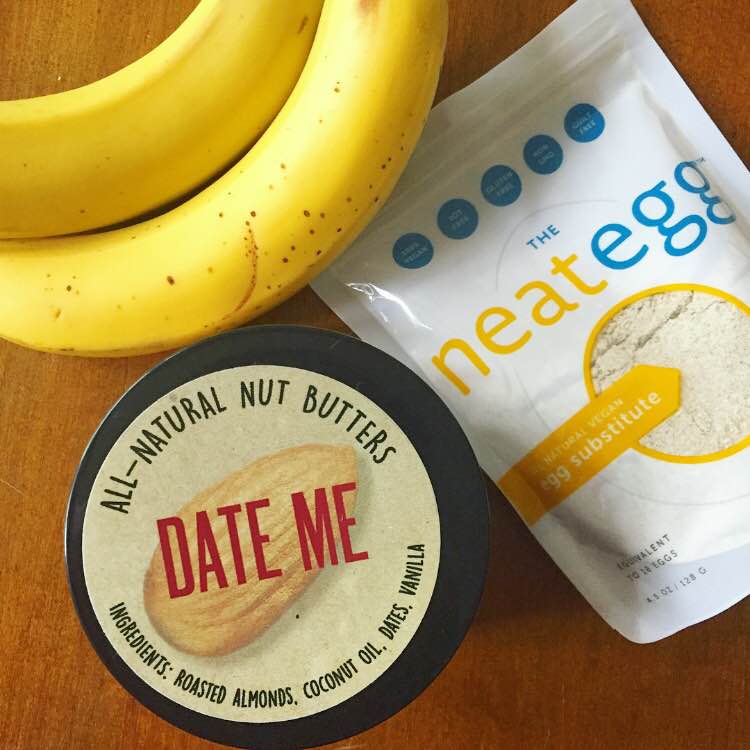
I recently started using the Neat Egg (as I mentioned previously) as an egg replacement in some of my recipes. It has actually been wonderful! I'm not personally vegan, but my mom is. So it's nice to be able to bake something that I can actually offer her a piece of. Plus, you really can't even tell that there isn't an egg in the recipe, so the non-vegans will never know. 

I was fortunate enough to be able to team up with Neat over on my Instagram to give one lucky winner a full Neat prize pack which includes the Neat Egg and two Neat meat replacement mixes (original and Mexican). You still have a little time to enter (about 2 hours), so go check it out! In the meantime, let's get to the recipe!

Here's What You'll Need:

-3 ripe bananas
-1 Neat Egg
-1 1/2 cup unsweetened almond milk
-3 tbsp Gone Nuts Date Me almond butter
-1 cup coconut flour
-1 tbsp baking powder
-Pinch of sea salt
-1/2 of a 3 oz dark chocolate bar (I used an 88% cocoa bar, but that may be a bit bitter for some. Use whatever you like), broken into small chunks

Instructions:

1) Preheat your oven to 350 degrees.
2) Using a small hand mixer (or a KitchenAid style mixer works just as well),  mix together all of the ingredients except the chocolate chunks.
3) Fold the chocolate chunks into the mixture using a wooden spoon.
4) Pour the mix into a loaf pan that is either lined with parchment or sprayed with nonstick spray.
5) Bake for about 1 hour. Ovens may vary, so keep an eye on the bread. When it's ready the top should be golden brown.
6) Remove the bread from the oven, and let it cool completely before removing it from the pan.
7) Once cool, you can remove the bread and slice it.
8) Top with some additional Gone Nuts or the toppings of your choice, and enjoy!

A few things about the bread, there aren't a lot of added sweeteners like sugar or maple syrup because the Gone Nuts almond butter contains dates, vanilla, and coconut oil. If you're swapping out for a different brand, especially an unsweetened almond butter, definitely take this into consideration. I also didn't want an overly sweet bread because you can always add more almond butter or sweet toppings, but you can't take it out. If you prefer really sweet, feel free to add in some maple syrup or the sweetener of your choosing!

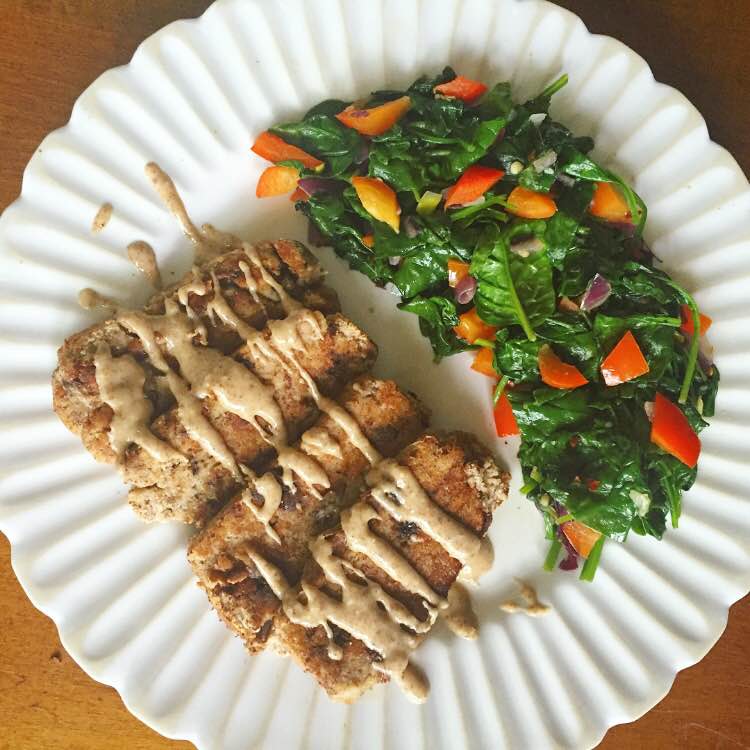
I also ended up using the bread to make some delicious gluten free and vegan French toast which I highly recommend! All you need is about 1/2 cup unsweetened almond milk, 1 tsp maple syrup, 1 tsp quinoa flour, 2 tsp nutritional yeast, and 1/2 tsp of cinnamon. Mix it all together in a bowl, and dip the banana bread slices into the mixture. Cook the slices in a pan on the stove top over medium to medium high heat, flipping half way through until each side is a golden brown. I topped mine with some maple syrup and more Gone Nuts, and it was SO GOOD.

Let me know if you give it a try and what you think in the comments below!

BBQ Cauliflower Steak

Cauliflower steak - lazy or brilliant? That's what I ended up asking myself as I was throwing this one together. To be honest, for me it was probably lazy, BUT it was just so good that I don't even care!

I was going to grill up a big veggie-filled lunch, and cauliflower was in the mix. I love BBQ roasted cauliflower, so I figured why not just try it out on the grill. I knew it would be delicious and take about half the time to cook. 

As I was about to prep it, cauliflower steak popped into my mind. I have heard of/seen it before, but never really looked fully into it. I was already planning to grill, so this was the time to go for it. It ended up cutting my cauli-cutting time probably by 1/10 - four easy cuts versus cutting each little cauliflower piece off the stem. Plus there was the added bonus of not wasting as much stem, and if you know me and broccoli stems, this is a BIG DEAL.

Here's What You'll Need:

-1 head of cauliflower
-1/4 cup olive oil
-Sea salt and pepper to taste
-1 cup all natural BBQ sauce

Instructions:

1) Remove the leaves from the cauliflower, and cut it into four slices of equal width.
2) Brush both sides of each slice or "steak" with olive oil and sprinkle with salt and pepper. You don't have to use all of the olive oil. You just want to lightly brush each side.
3) Toss the steaks onto a preheated grill and cook for 5 minutes per side.
4) Slather BBQ sauce onto each side of the steak and grill for an additional 3-5 minutes per side.
5) Remove from the grill, and serve with your favorite sides.

I hope you all enjoy this BBQ cauliflower combo as much as I do! Let me know what you think in the comments below!

Vegan and Gluten Free Beet Waffles

I've actually been thinking about making a beet waffle for a little bit now. My initial thought was to put beet chunks into a waffle like I've done with apple or berries. But then the thought came to me, why not incorporate the beets into the actual batter? Plus it would make for a beautiful color. 

So I was ready to make my standard quinoa flour waffle base and blend in some beets, when I remembered that I was recently introduced to the Neat Egg. The Neat Egg is an all natural egg substitute made from chia seeds and garbanzo beans. This seemed like the perfect first recipe to try with the Neat Egg. 

I've (attempted) to make a vegan waffle in the past, and it was just plain gross. It was really dense and not waffle-like at all. To be fair, it was my first vegan waffle attempt, actually my first homemade waffle attempt in general. Needless to say, I was a little hesitant about trying another vegan waffle. But the Neat Egg really came through. I honestly would never have known that the waffle had an egg substitute and not a real egg. It made the perfect waffle and wasn't dense at all. 

I topped mine off with arugula, feta, and spicy honey. I know, I know not vegan at all, but that is the thing I love about this recipe. You can make it for everyone! If you're vegan, it's delicious. If you're not vegan, it's still delicious. And everyone can choose their own toppings.

Here's What You'll Need:

-3/4 cup quinoa flour
-1 tsp baking powder
-3/4 cup water and/or unsweetened almond milk (I usually do 1/2 cup of almond milk and 1/4 cup of water)
-1 Neat Egg
-1 tbsp coconut oil, melted
-4 pieces of Love Beets organic cooked beets
-Toppings of choice

Makes 2 waffles

Instructions:

1) In a blender or food processor, blend together the beets and water and/or almond milk first.
2) Add in the remaining ingredients, and blend until batter is smooth.
3) Preheat your waffle iron.
4) Once preheated, pour in half of the batter, and cook according to your waffle maker instructions.
5) Repeat with the second half of the batter. 
6) Serve the waffles, top with desired toppings, and enjoy!

Let me know what you think in the comments below!


Sweet and Spicy Grilled Tempeh

I promise that I won't only post grilled recipes from now through like November (even if I want to), but in the meantime, another grilled recipe.

I had picked up some tempeh the other day and decided it needed to be grilled. So I started playing around with marinade ideas. One thing led to another, and I had some sort of sweet but salty but spicy but DELICIOUS marinade. I didn't really know what to call it, so you just get "Sweet and Spicy". But's it's good, like really good. And you will be pouring the marinade on top of the grilled tempeh, trust me. So I recommend not throwing it out.

Here's What You'll Need:

-8 oz package of tempeh, cut into 4 triangles
-1/4 cup maple syrup
-1/4 cup Bragg's Liquid Aminos
-1-2 tbsp sriracha (depending on how spicy you want it)
-1 clove garlic, minced

(Serves 2)

Instructions:

1) Mix together the marinade in a bowl or bag, and marinate the tempeh for at least an hour.
2) Heat up your grill, and toss the tempeh on. Cook for about 3-5 minutes per side until lightly charred.
3) Remove from heat, add some additional marinade as sauce, serve with your favorite sides, and enjoy!

So easy and so delicious. Does it get much better than that?

Let me know what you think!

Grilled Portobello and Asparagus Tacos

I had some pretty delicious portobello and asparagus tacos from a place by me recently. So when taco Tuesday came around, I thought why not use the idea but give it my own twist? 

I decided to with grilling, because duh, it's me. Add in some SUPER simple, homemade guac, fresh radishes, and Bushwick Kitchen's delicious sriracha, and I had myself a taco upgrade. But seriously, this was better than the restaurant and kind of made me rethink the need for takeout on the taco front because they were also really easy peasy.

Here's What You'll Need:

-6 organic corn tortillas
-1 small bundle of asparagus (with the bottoms chopped off)
-1 portobello top, sliced
-1 avocado
-2 garlic cloves, minced
-8 cherry tomatoes, chopped
-Sea salt and pepper to taste
-2 tbsp olive oil
-1 radish, sliced
-Bushwick Kitchen's Weak Knees Gochujang Sriracha to taste

(Serves 2)

Instructions:

1) Get your grill going. In the mean time, toss the portobello and asparagus in a little olive oil, sea salt, and pepper. 
2) Toss the veggies on the grill, and cook for about 2-3 minutes per side for the mushrooms and 3-5 minutes per side for the asparagus. Remove from heat.
3) Throw together your quick guacamole. This isn't generally how I make guac, but keeping it relatively simple really lets the other flavors come through. Mash the avocado. Add in the garlic, tomato, sea salt, and pepper, and mix it all together.
4) Start assembling your tacos. Spread some guac in each (warmed) tortilla, top each with equal shares of the aspargus and portobello. Add on some radish slices and a drizzle of sriracha to each.
5) Enjoy!

This recipe is so simple but still packs such a delicious, fresh flavor. I'd love to hear what you think in the comments below!